
Before You Buy a Wildlife Camera: Three Things That Matter More Than Gear
Wildlife photography is one of the easiest genres to enter — and one of the fastest ways to convince yourself you’re progressing while learning absolutely nothing.
I know this because I’ve done it. Repeatedly.
New lens. New body. New strap. New YouTube playlist.
Zero meaningful improvement in how I read a scene, anticipate behaviour, or place myself in the environment.
Gear has a wonderful ability to give us a hollow sense of achievement. You can spend an entire evening researching cameras, fall asleep satisfied, and wake up no better prepared to photograph wildlife than the day before — except now you’re £2,000 poorer and emotionally invested in defending your purchase online.
This isn’t an anti-gear rant. Cameras matter. Lenses matter.
But they matter after you understand three far less glamorous things.
Before you buy a wildlife camera — or upgrade the one you already own — you need to understand:
The environment you’re stepping into
The speed at which life actually moves
Your distance from the subject — and why it’s mostly your fault
Let’s start there.
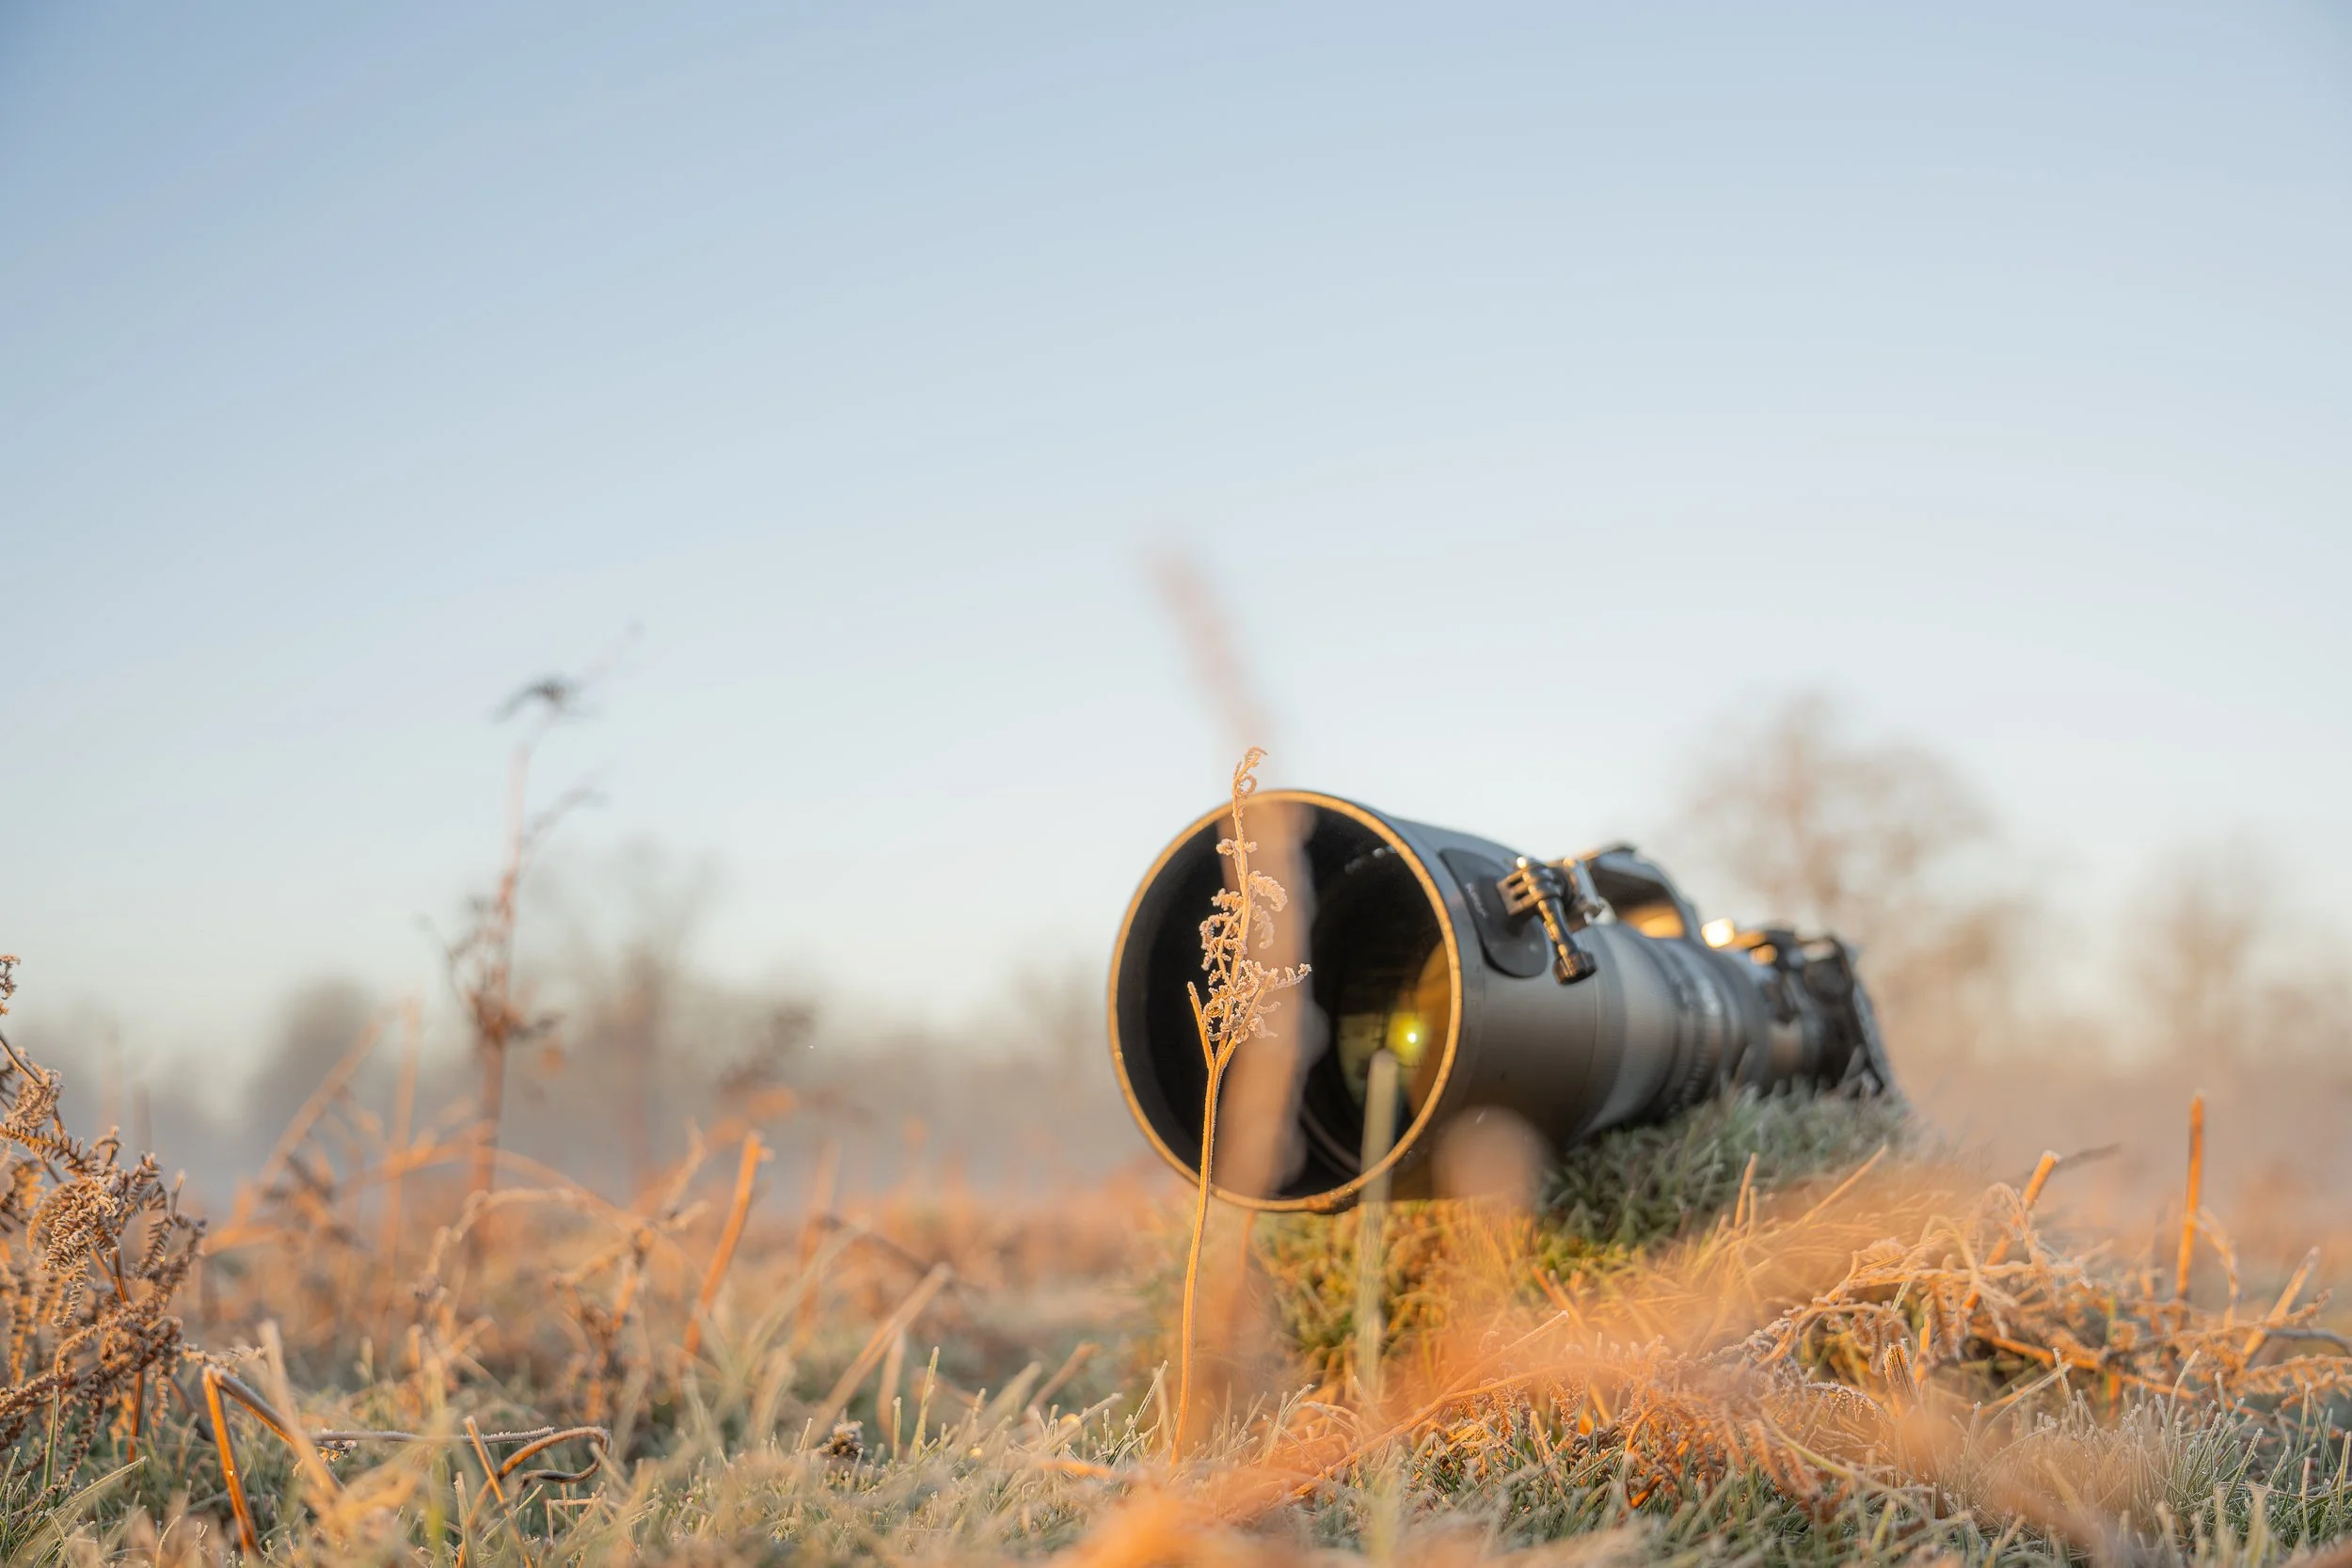
1. The Environment Decides Everything (Not Your Camera)
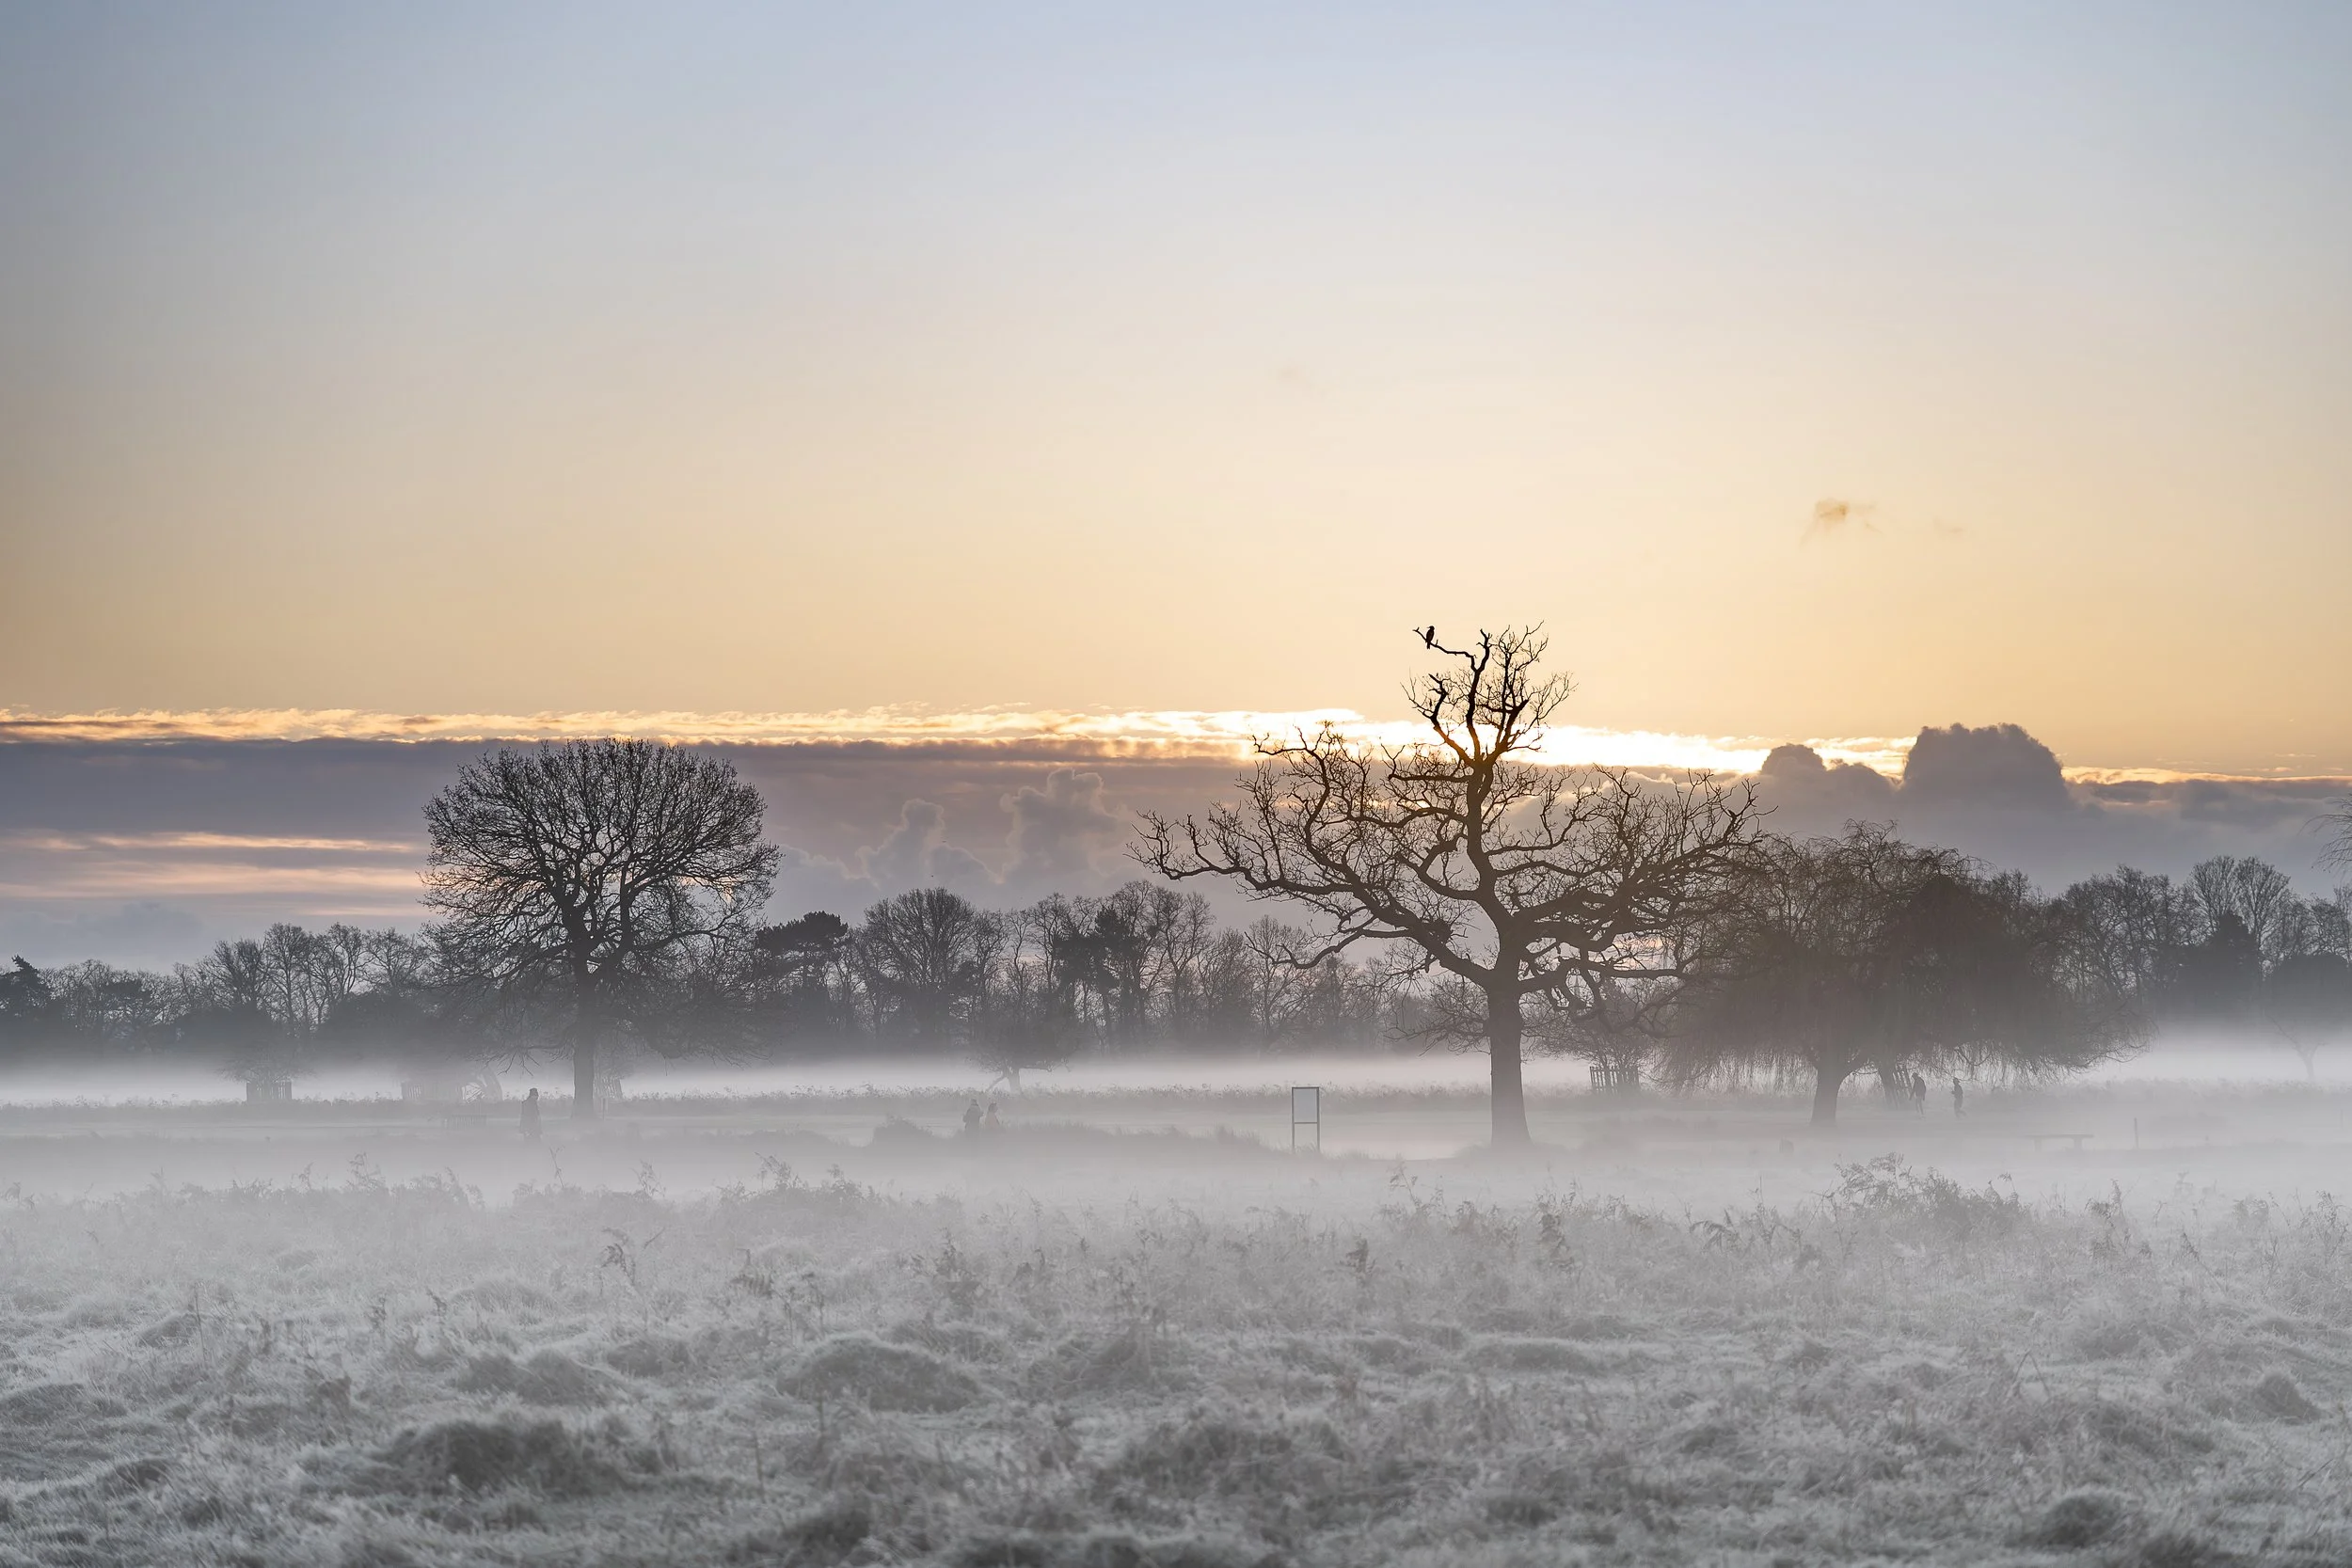
If you want to see wildlife at its most honest, you will be awake earlier than you’d like.
The world doesn’t perform on our schedule. Birds don’t wait for golden hour presets. Behaviour happens when it happens — and very often that’s when the light is scarce, the air is cold, and your coffee has not yet kicked in.
Most wildlife activity clusters around dawn and dusk. That means low light. And low light means every camera, no matter how expensive, is immediately under pressure.
This is usually where beginners assume they’ve hit a gear wall.
Grain creeps in. Shutter speeds drop. ISO climbs. Panic follows. Somewhere on YouTube, someone recommends a faster lens. A forum quietly suggests that the solution costs four figures.
Here’s the part that often gets missed:
You can make beautiful wildlife images with “dark” lenses — if you understand how to work with the environment.
Yes, many affordable telephoto lenses are relatively slow. A 70–300mm zoom. A consumer super-telephoto. A compact 100–400mm. These lenses don’t drink light greedily — and that’s okay.
What matters is how you use them.
There are three quiet ways photographers successfully work around limited light:
Shorter focal lengths often allow wider apertures, letting in more light
Fieldcraft and distance reduce the need for extreme reach in the first place
Subject choice and timing let you shoot what works now, rather than what only works later
Early mornings don’t mean shooting everything immediately. Often the best move is patience — letting the light climb, watching how animals settle into routines, choosing moments where behaviour slows just enough to match your gear.
Understanding this turns “limitations” into decisions.
And yes — the rule of optics still applies:
The longer the lens, the more expensive it becomes to gather light.
A 600mm f/11 exists because physics allows it to be affordable.
A 600mm f/6.3 costs more because it collects more light.
A 600mm f/4 exists to remind you that gravity applies equally to wallets.
But expensive glass doesn’t replace environmental awareness. It only rewards it.
2. Shutter Speed Is Not Optional (Wildlife Doesn’t Pose)
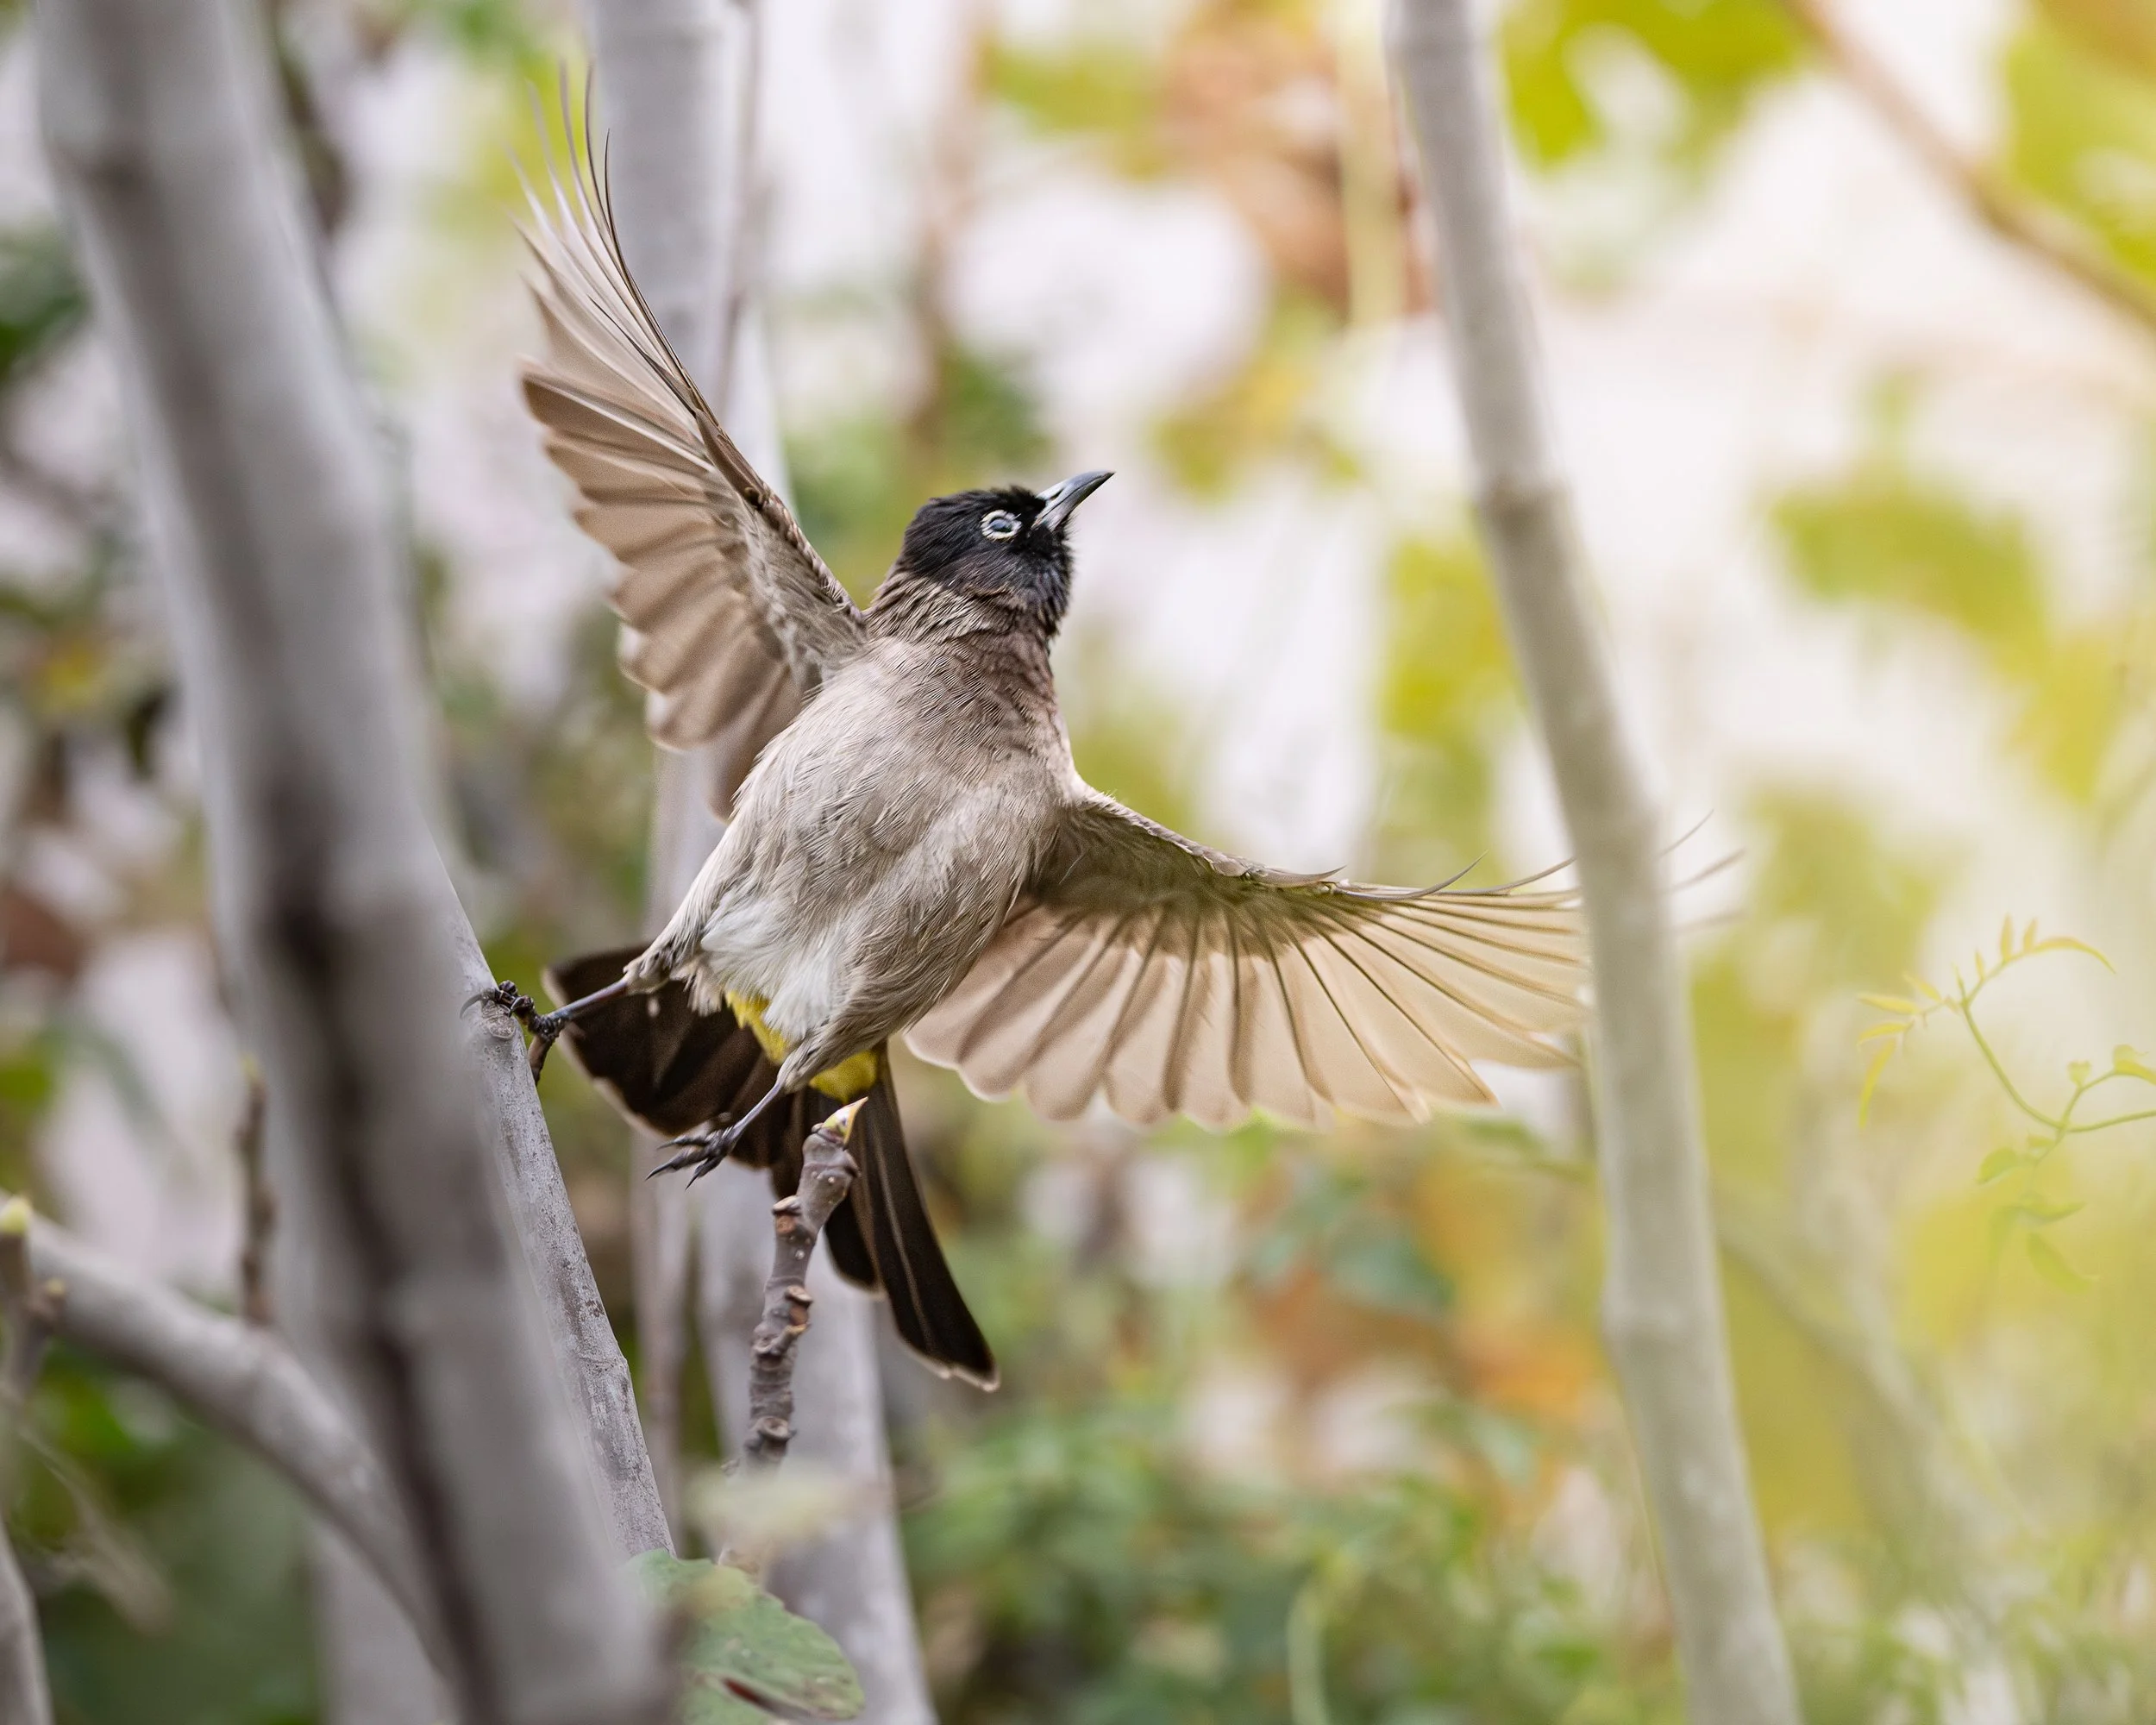
White-spectacled Bulbul
Despite shooting at 1/2000 at f5.6 with a 500mm lens you can still see movement in flight feathers while this Bulbul takes off. In this instance motion blur in wings gives a sense of speed but the shutter speed being quadruple of the focal length is fast enough to freeze the birds body still enough to retain the detail. Shutter speed lower 1/2000 would have rendered the shot too blurry and a throwaway.
Wildlife photography is not portrait photography with feathers.
You can’t ask a bird to hold still. You can’t request another take. You can’t politely suggest that the splash happens half a second later when your settings are ready.
Life happens. Fast.
If photography is about capturing a slice of time, wildlife photography is about slicing a moving target mid-air and hoping your timing isn’t embarrassing.
You’ll often hear a simple rule repeated:
Double your focal length to get your minimum shutter speed.
It’s a good starting point — but in practice, it’s optimistic.
For static subjects, it may work.
For large birds doing very little, you might get away with it.
But for small birds, active behaviour, wing movement, take-offs, landings, or anything remotely energetic?
You need more.
Much more.
In real-world wildlife photography, it’s often safer to think in terms of three to four times your focal length:
300mm → 1/1000s or faster
600mm → 1/2500s to 1/4000s
Personally, I rarely shoot a 600mm lens below 1/2500s, and I’m far more comfortable living around 1/3200s or even 1/4000s when behaviour ramps up.
This is where many beginners unknowingly sabotage themselves.
They buy reach. They shoot early. They drop shutter speed to compensate for light. Motion creeps in. Images fall apart. Autofocus gets blamed. Sharpness gets questioned. Brands get dragged through forums.
The camera didn’t fail.
Physics did exactly what it always does.
Once you accept that shutter speed is non-negotiable, everything else — ISO, aperture, focal length — becomes a balancing act rather than a mystery.
3. Distance Is a Skill (And the Cheapest Upgrade You’ll Ever Make)
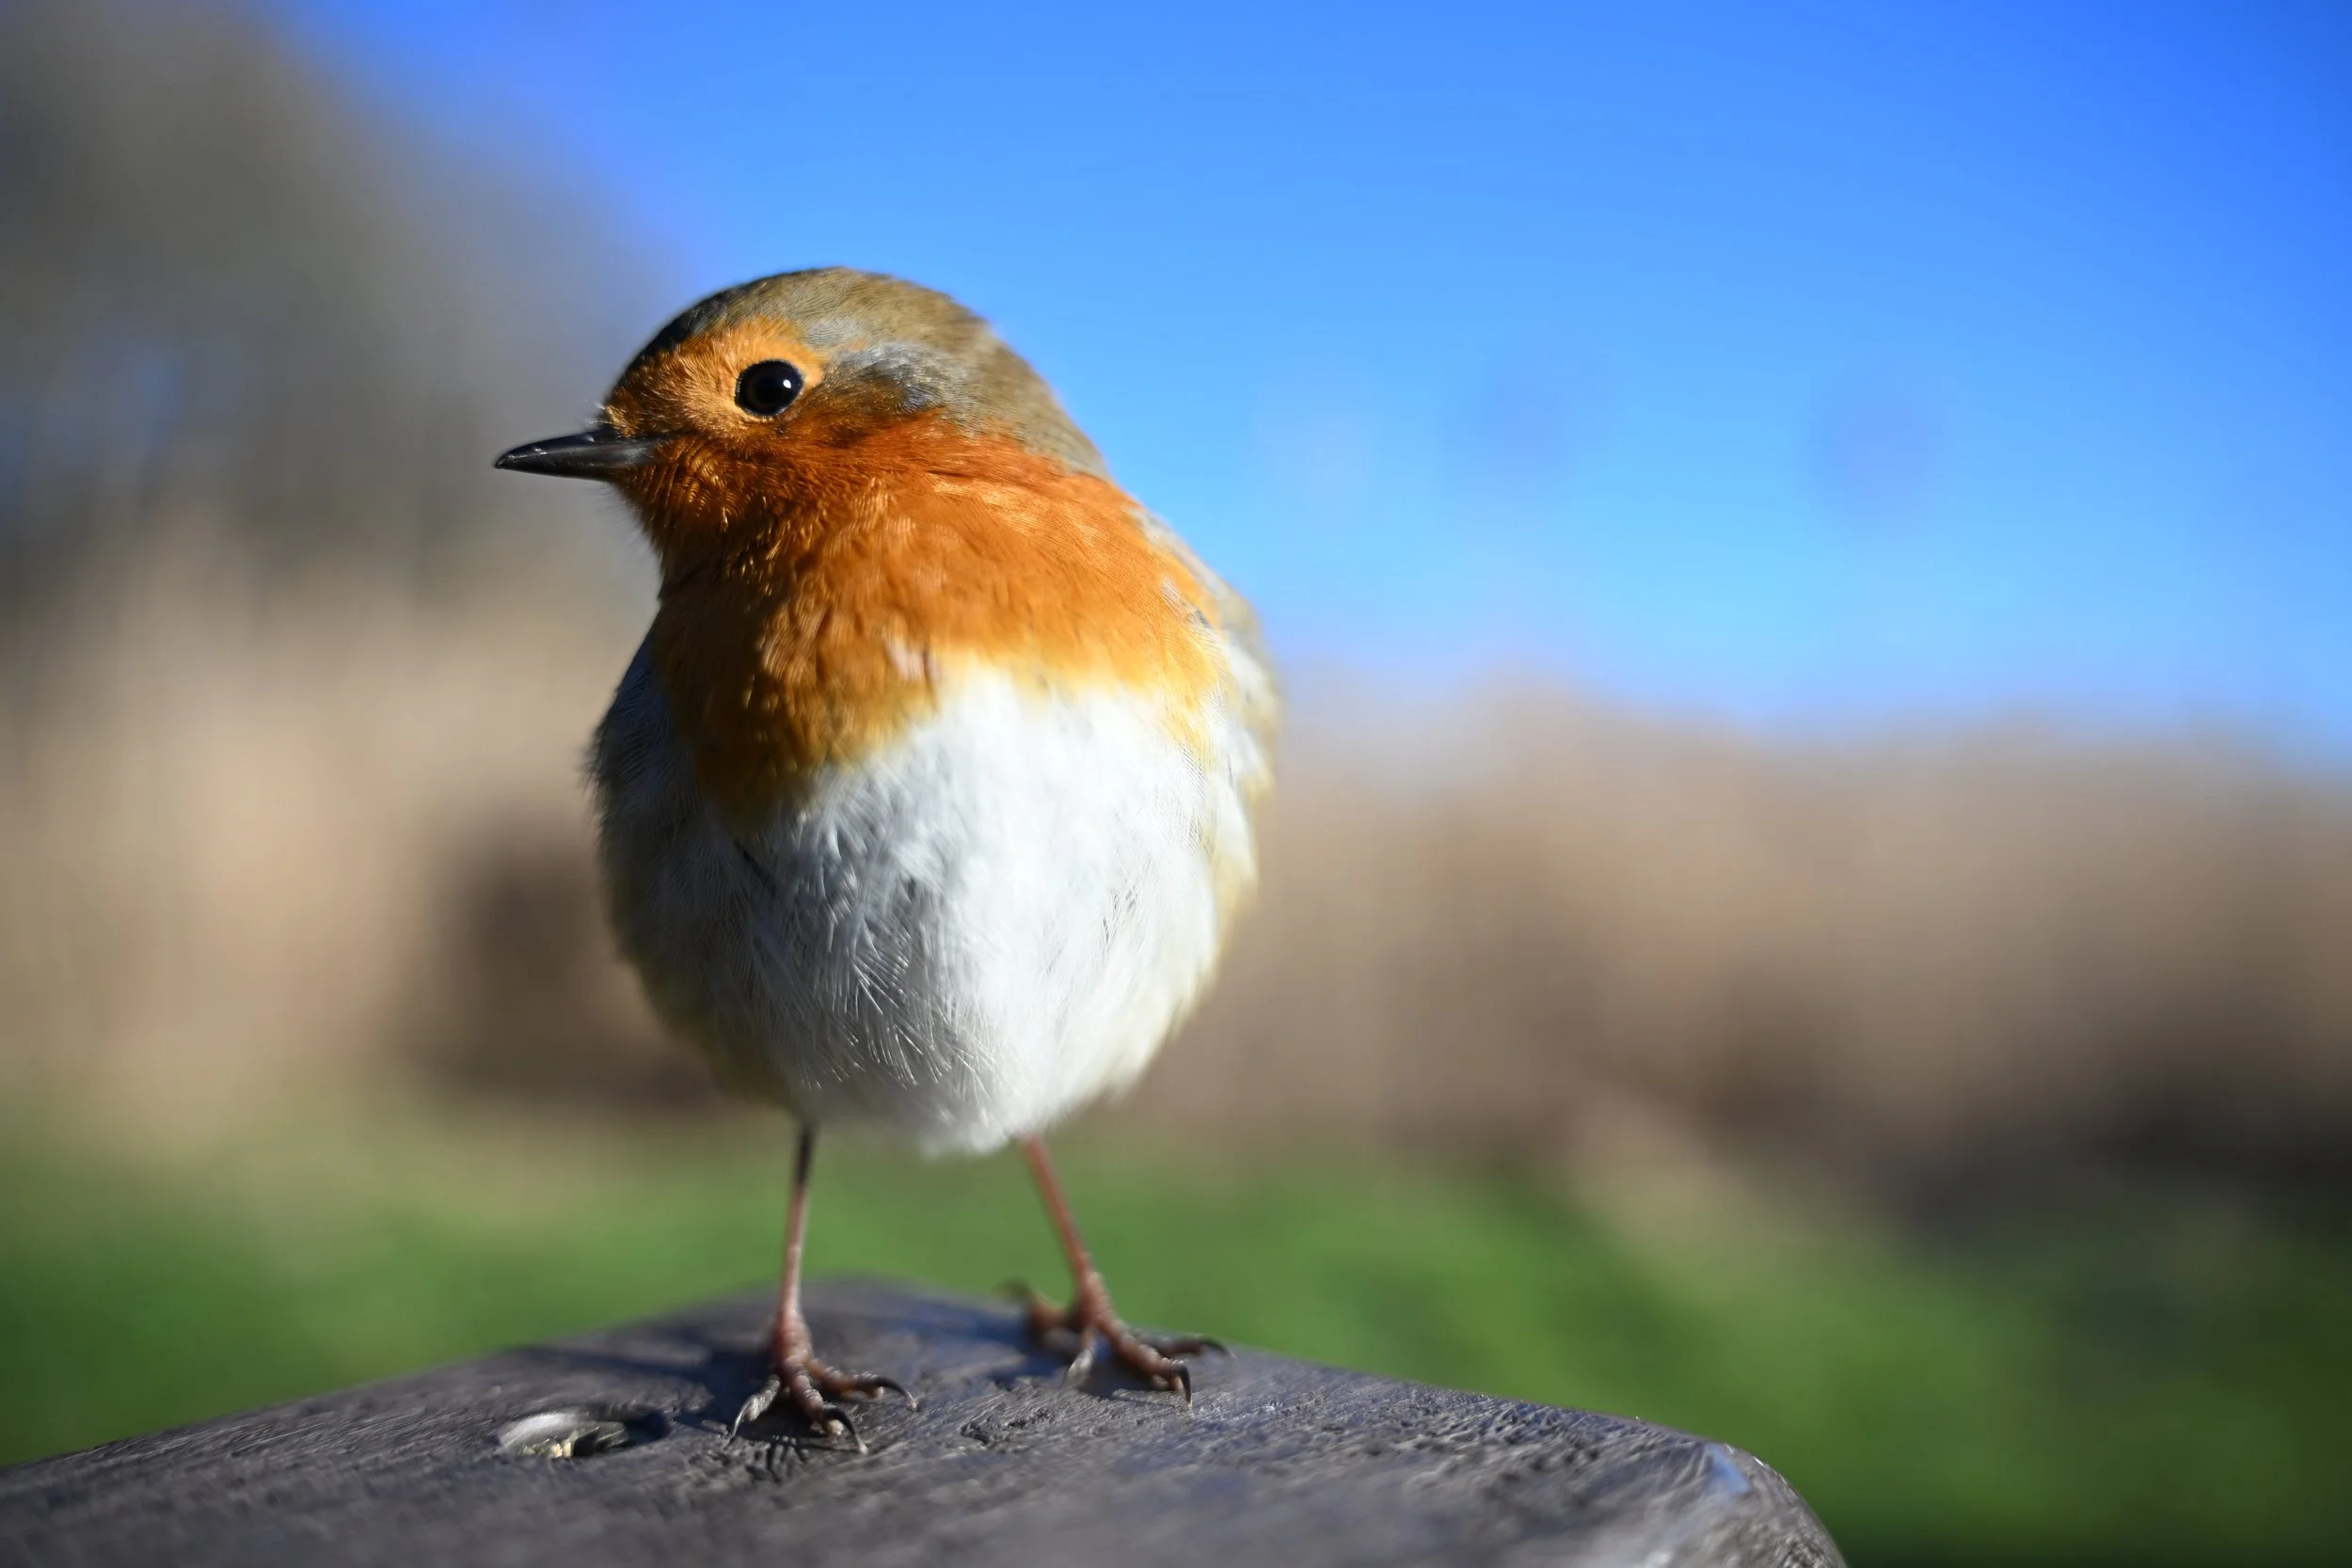
Robin at local wildlife reserve
Very playful and curious robin in this winter’s cold weather was very brave to come extremely close and pose for me. This was shot at 28mm f2.8 on a relatively inexpensive (Tamron 28-75 f2.8) standard zoom lens on my b-roll camera (Nikon zf) that I always carry with me to capture the environment.
This shows that opportunities come to you no matter what focal length you are packing. Capturing wildlife is always about your subject behaviour and being prepared to take uncommon shots of common species.
Here’s the uncomfortable truth that gear reviews rarely mention:
The closer you are, the less gear you need.
Distance to subject is not primarily a lens problem — it’s a fieldcraft problem.
The ability to approach wildlife without disturbing it is one of the most valuable skills a wildlife photographer can develop. It takes patience, observation, and an understanding of behaviour — not a longer lens.
And yet, distance is often treated as something to be solved with glass.
Yes, you will still want long lenses.
Yes, a 600mm f/4 is a wonderful thing.
But the photographer who understands behaviour will fill the frame more effectively with any focal length — and produce images with cleaner backgrounds, better separation, and more intent.
This is the qui
et paradox of wildlife photography:
The better you become as a naturalist, the cheaper it is to become an outstanding photographer.
Gear amplifies skill. It doesn’t replace it.
Why This Matters Before You Buy Anything
Or… Patience with your gear purchases is as important as patience in the field.
I work part-time in a specialist camera shop. I speak to beginners every week — some starting for themselves, some encouraged by parents who genuinely want to support a child’s curiosity about the natural world (which never fails to make my day).
They all ask the same question, phrased differently:
“What camera do I need for wildlife?”
The honest answer is inconvenient:
You don’t need a camera yet.
You need context.
Once you understand light, motion, and distance, buying gear becomes easier, cheaper, and far less stressful. You stop chasing specs and start choosing tools that support how you
actually shoot.
This is exactly what we focus on in FeatherFrame workshops — not just how to use a camera, but how to see, anticipate, and work with the environment rather than against it.
Coming Next
In the next article, we’ll finally talk about gear — properly.
Not brand wars. Not spec sheets.
But what different budgets really buy you in wildlife photography, and what they don’t.
Until then, go outside.
Look longer than you shoot.
And remember: wildlife doesn’t care what camera you brought.